Creating a Sample Page
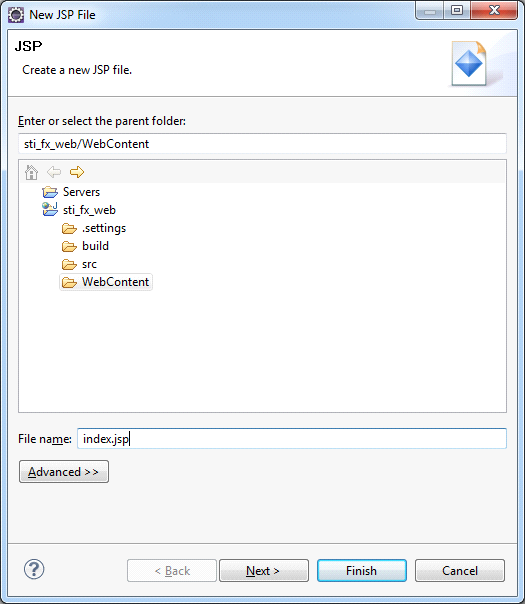
In order to verify the project and the Tomcat server, create a simple JSP and deploy it on Tomcat. To do this, one can create a new JSP, by choosing File> New> Other, or one can use the context menu, right-click the project name in the Project Explorer and select New> JSP file. In the next window (see Figure 5) define the directory WebContent, and in the File name write index.jsp. Click Finish to create pages using the default template:
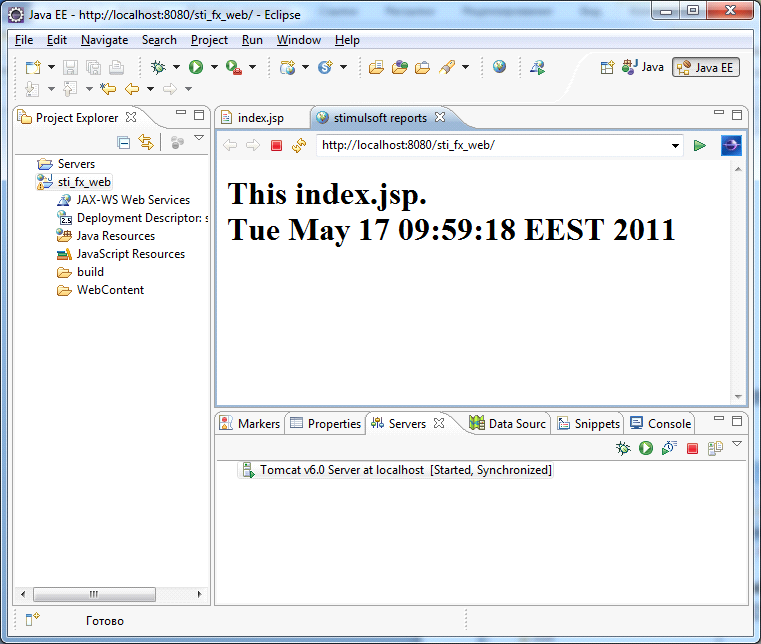
Now open the index.jsp and edit it so that it displays the current date. The code page is specified in the Listing 1.
index.jsp
...
<!DOCTYPEhtmlPUBLIC"-//W3C//DTD HTML 4.01 Transitional//EN">
<%@ page language="java" contentType="text/html; charset=UTF-8"    pageEncoding="UTF-8" %>
<html>
<head>
<meta http-equiv="Content-Type" content="text/html; charset=UTF-8">
<title>stimulsoft reports</title>
</head>
<body>
    <%java.util.Date date = new java.util.Date();%>
    <h1>
        This index.jsp.<br>
        <%=date.toString()%>
    </h1>
</body>
</html>
...
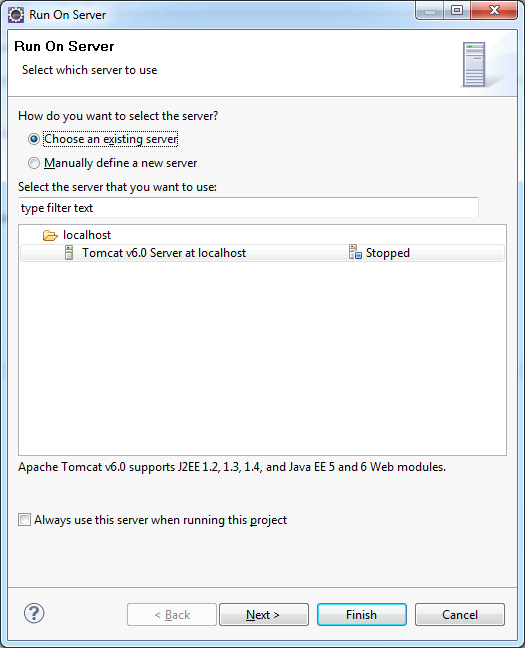
Now deploy it on the server. For this one need to use the context menu, right-click the project name, select Run> Run as> Run on server. Define a previously created server and click Finish:
As a result, you receive the following (see Figure 7). This page will be available from any browser at http://localhost:8080/{ProjectName} (where the {ProjectName} name of the created project, in our case sti_webviewer):